How to properly clean a bathroom exhaust fan
Don’t forget to dust and clean your bathroom regularly.

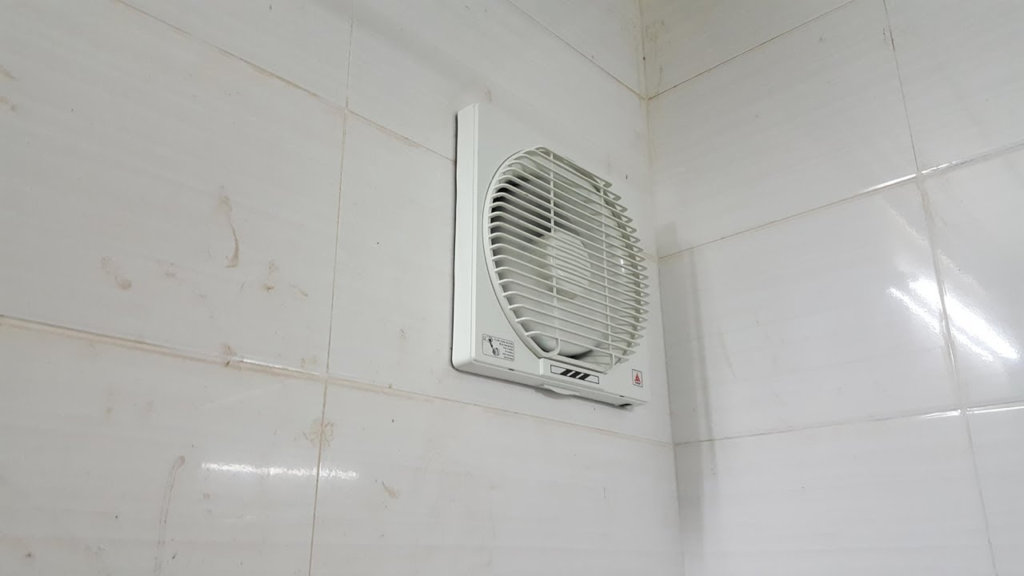
There’s a secret spot in the bathroom that you might forget to clean: the exhaust fan. This bathroom tool is underrated and often overlooked—until it starts making a sound similar to an airplane taking off.
An important tool in controlling mold growth by removing excess moisture and odors in the bathroom, the fan draws air into the unit and pushes it out through the vents. Since it is so important to your bathroom, it is equally important to clean it regularly.
Learn how to properly clean a dusty bathroom fan so that it runs quietly and properly.
How Often to Clean a Dusty Bathroom Fan
Bathroom fans that are used infrequently (such as fans in guest bathrooms) usually require annual cleaning. However, if you use your bathroom every day, here are helpful instructions for cleaning your exhaust fan.
Clean the outside of the fan monthly with an electrostatic broom with a retractable handle.
Clean the fan thoroughly every six months.
Before You Get Started
When dealing with a bathroom fan, know that you are working with something that runs on electricity. Before you begin cleaning, take precautions such as:
Make sure there is no water on the floor.
Turn off the circuit breaker in the bathroom.
Make sure the fan power switch is turned off.
Always use a sturdy ladder.
Instructions

01 Turn Off the Electrical Breaker
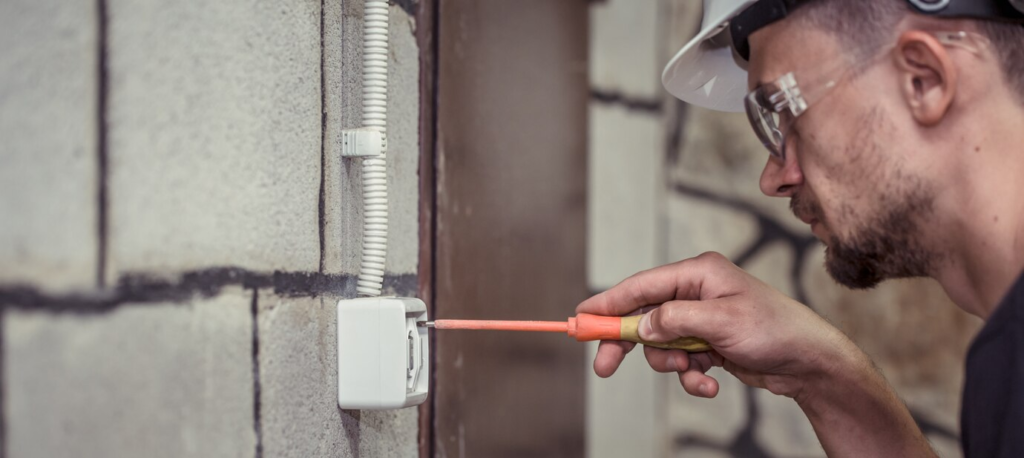
To avoid unexpected shocks, turn off the fan operating switch and the toilet circuit breaker. If you are unable to turn off your circuit breaker (for example, if you live in an apartment), for safety reasons, avoid this task and contact a professional.

02 Remove Exterior Dust
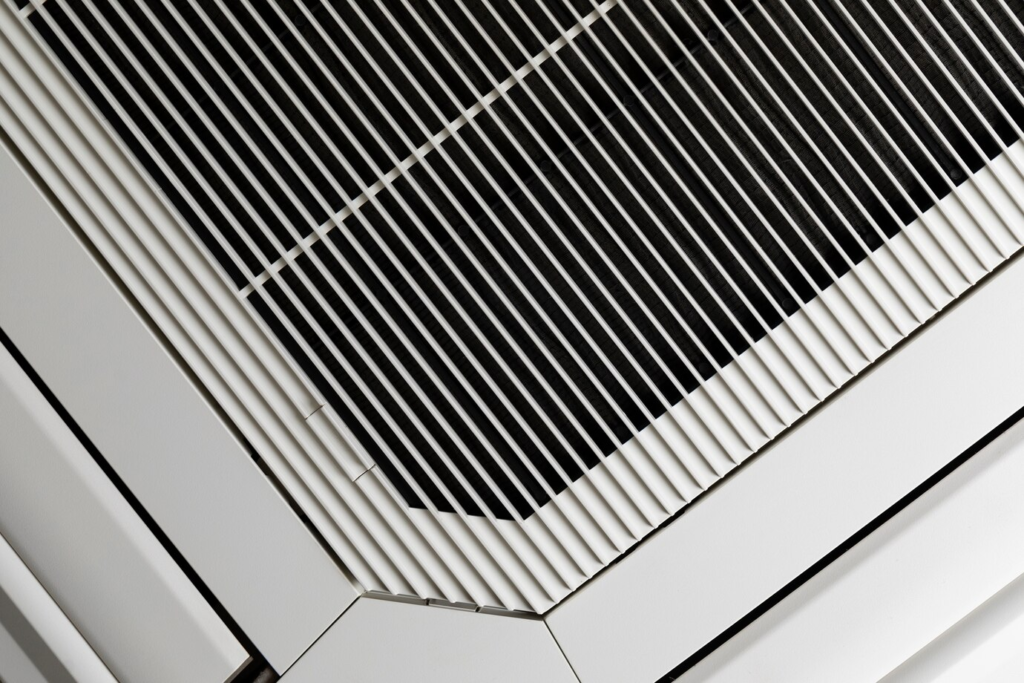
Once up a sturdy ladder, use an electrostatic vacuum or a vacuum cleaner with a hose and a crevice tool to remove dust and cobwebs visible on the outside of the fan grille.
03 Remove the Exterior Fan Cover
Some models may require a screwdriver to remove the housing. Most covers have latches that can be pressed down on the sides and then gently removed from the ceiling or wall.

04 Unplug the Fan
After removing the cover, you will see the motor and blades of the device. Most fans are plugged into an electrical outlet, so to be safe, unplug them before cleaning the fan blades and surrounding concave housing.
05 Mix a Cleaning Solution
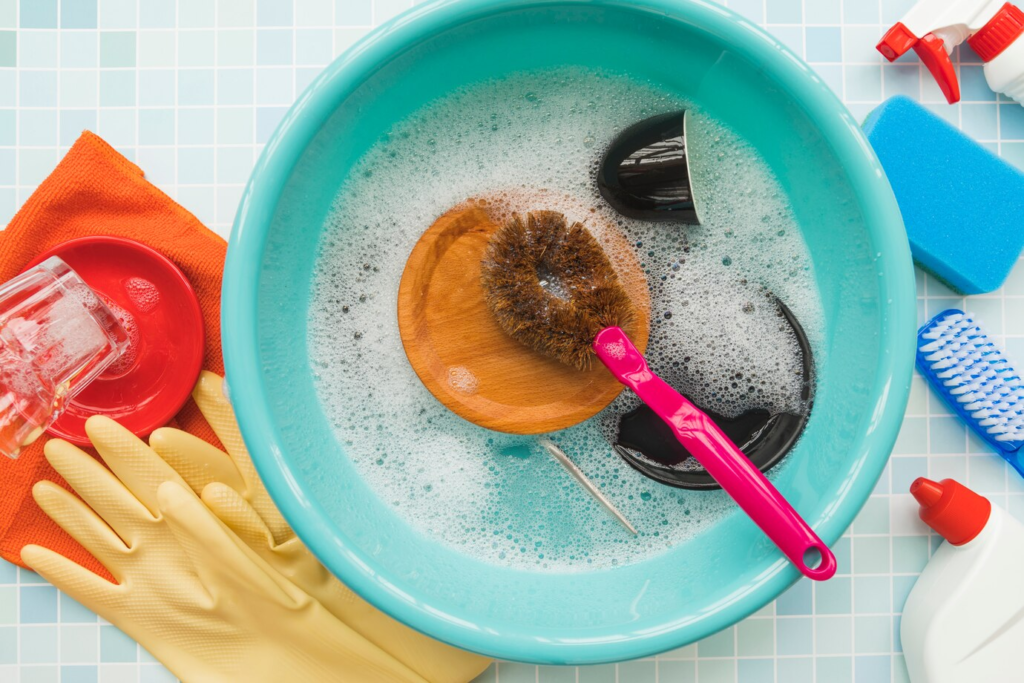
Fill a sink or bucket with warm water and follow the label directions, adding the recommended amount of all-purpose household cleaner.

06 Soak and Clean the Vent Cover
Submerge the vent cover in water and let it soak to remove dust, hairspray, and dirt while you clean the rest of the device.
After about 10 minutes, wipe with a microfiber cloth or sponge and then rinse with warm water. Place the lid on an absorbent towel and let it air dry.
07 Clean the Motor Housing and Blades
If possible, remove the fan assembly from the recessed housing. Most patterns will come out with a few turns. Lightly dampen a sponge or microfiber cloth with water and wipe off any dust from the blade and motor.
08 Vacuum or Dust the Recessed Housing
The concave cover and bracket that hold the fan in place can trap dust and insects in corners. Use a duster or the attachment of a vacuum cleaner to remove as much debris as possible.
09 Replace the Fan Components
Once the internal components are clean and dry, place the fan back into the case by screwing it in or reconnecting it to the bracket. If necessary, connect the fan to an outlet.
Use your fingers to rotate the blades several times to ensure they are not touching any part of the sheath. Attach or screw the cover into place.
10 Turn On the Fan
Turn the bathroom electrical breaker back on and turn on the bathroom fan switch. If you hear clicking, the fan blades may need to be adjusted slightly. Be sure to follow safety procedures when readjusting the blades.
